Introduction
It is important that we request from the client all information and assets necessary to do our job properly. This includes account credentials, resource materials, contact lists, etc.
- Request the client to provide the resources listed on the following page. If they don’t have Google accounts, remove those from the list.
- Inform that all supplied content must be in its final version, of professional quality and in a form suitable for reproduction (i.e. vector format, 300dpi) and that all copy is in a form suitable for typesetting.
- If necessary, request that they include an explanation on how they want us to use the provided content in their project.
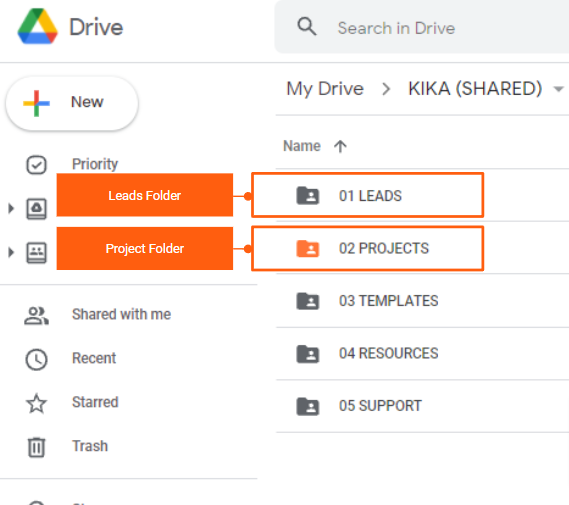
This is also the time to organize any resources already provided by the client and/or developed by Kika during the prospecting stage from the LEAD folder to the PROJECTS folder on the Google Drive.
Once you’ve received all the client-supplied resources and information, make sure to add their credentials to our Dashlane password manager.
3rd Party Access (e.g. Imark)
We limit access to our clients’ website and server properties since we are responsible if anything happens to their data. Any requests must be directed to our Systems Administrator, Tochi (tochi@kika.ca)
Server Access
- We cannot provide full cPanel access as we are responsible for the data confidentiality on the client’s hosting (website + emails + others).
- For website backups, we have daily backups for the websites that we are maintaining.
- For minor updates ( e.g. content, title, description ), including redirects, I think they can be done directly on the live website via the Yoast plugin and would not need an immediate full backup as these updates would not technically introduce critical issues on the website.
- If they would need to do some major updates, then we can setup a staging instance for their developer. Once they’ve implemented and reviewed the updates, we will run a QA and if everything looks fine, we will then deploy to the live site.
Website Management Access
- For the WordPress user access, we provide our 3rd party vendors’ with a Controlled Admin user account to control their level of access to our clients’ WP websites. This is made possible by the Controlled Admin Access plugin which specifies which WP sections and plugins an admin account can access. (Note: The role of SEO Manager does not have capabilities to edit files and it has a loose access control to plugins.)
- Controlled Admin users have access to the Posts, Pages, Media, Redirection plugin and Yoast plugin which enables them to do the following:
- Manage post / pages contents, titles and descriptions
- Manage image alts
- Manage redirections
- Manage sitemaps
- Edit access and robots.txt
If they need other SEO plugins or access to other sections of the website, we can add them on the list of accessible plugins / sections.
Password Management
Adding a new client to Dashlane
- Login to the dashlane@kika.ca (Master account) or team@kika.ca Dashlane account
- Go to Tools > Add password categories
Create category: CLIENT: {CLIENT NAME}, e.g. CLIENT: KIKA MARKETING
Adding a new password to Dashlane
Step 1
- On the left side menu, select Passwords
- Select “Add new” button on top-left corner
- Add website, login and password
- Organize the password under the client’s category
- Leave space under Kika Marketing
- Click “OK”
Step 2
- On the pop-up window, update info under Name field so that it contains the name of the platform and the name of the client (instead of the website URL).
E.g. “www.wordpress.com” to “WordPress – {CLIENT NAME}” - Add any notes such as answers to security questions, PIN codes, etc.
- Toggle the “Shared access” tab and select “Share” link to share the password with “Full Rights” to dashlane@kika.ca


